We received a call from a popular casual dining restaurant, that had a game room toward the back of their establishment, which was in a strip mall. Noise from the game room was bleeding into the adjoining tenant’s space and disturbing THEIR customers. Following our normal procedure of identifying the noise source, (game room) and the party being impacted by the noise (the neighbor) all that was left to do was to identify the noise transmission path and suggest the best combination of products to stop the noise from traveling.
After making a site visit, we discovered that the game room noise was “hitting” the wall, moving up to the ceiling, traveling across the ceiling and into the neighbor’s establishment. There was also some “leakage” through the electrical outlets on the wall between the two businesses. Finally, a metal I Beam was spanning the restaurant, width wise, in the middle of the room and noise was bleeding through the small spaces where the I Beam met the outer wall of the restaurant.
Compounding the current situation was the fact that the game room was being relocated to the back of the restaurant and the owners wanted to be sure that when the games were moved, the noise problem did not “move” as well.
We determined that the wall of the current gaming area needed to have the corrugated roof area where the wall met the ceiling blocked off to stop the transmitted noise from bridging across the ceiling and into the space next door. The best way to achieve this was to add drywall to the open area cut into a scallop design to match the corrugation and add a layer of noise barrier on the back, then sealing it up with acoustical sealant. This stopped the flanking noise that was occurring presently. We also suggested running a bead of acoustical sealant around the big metal I Beam.
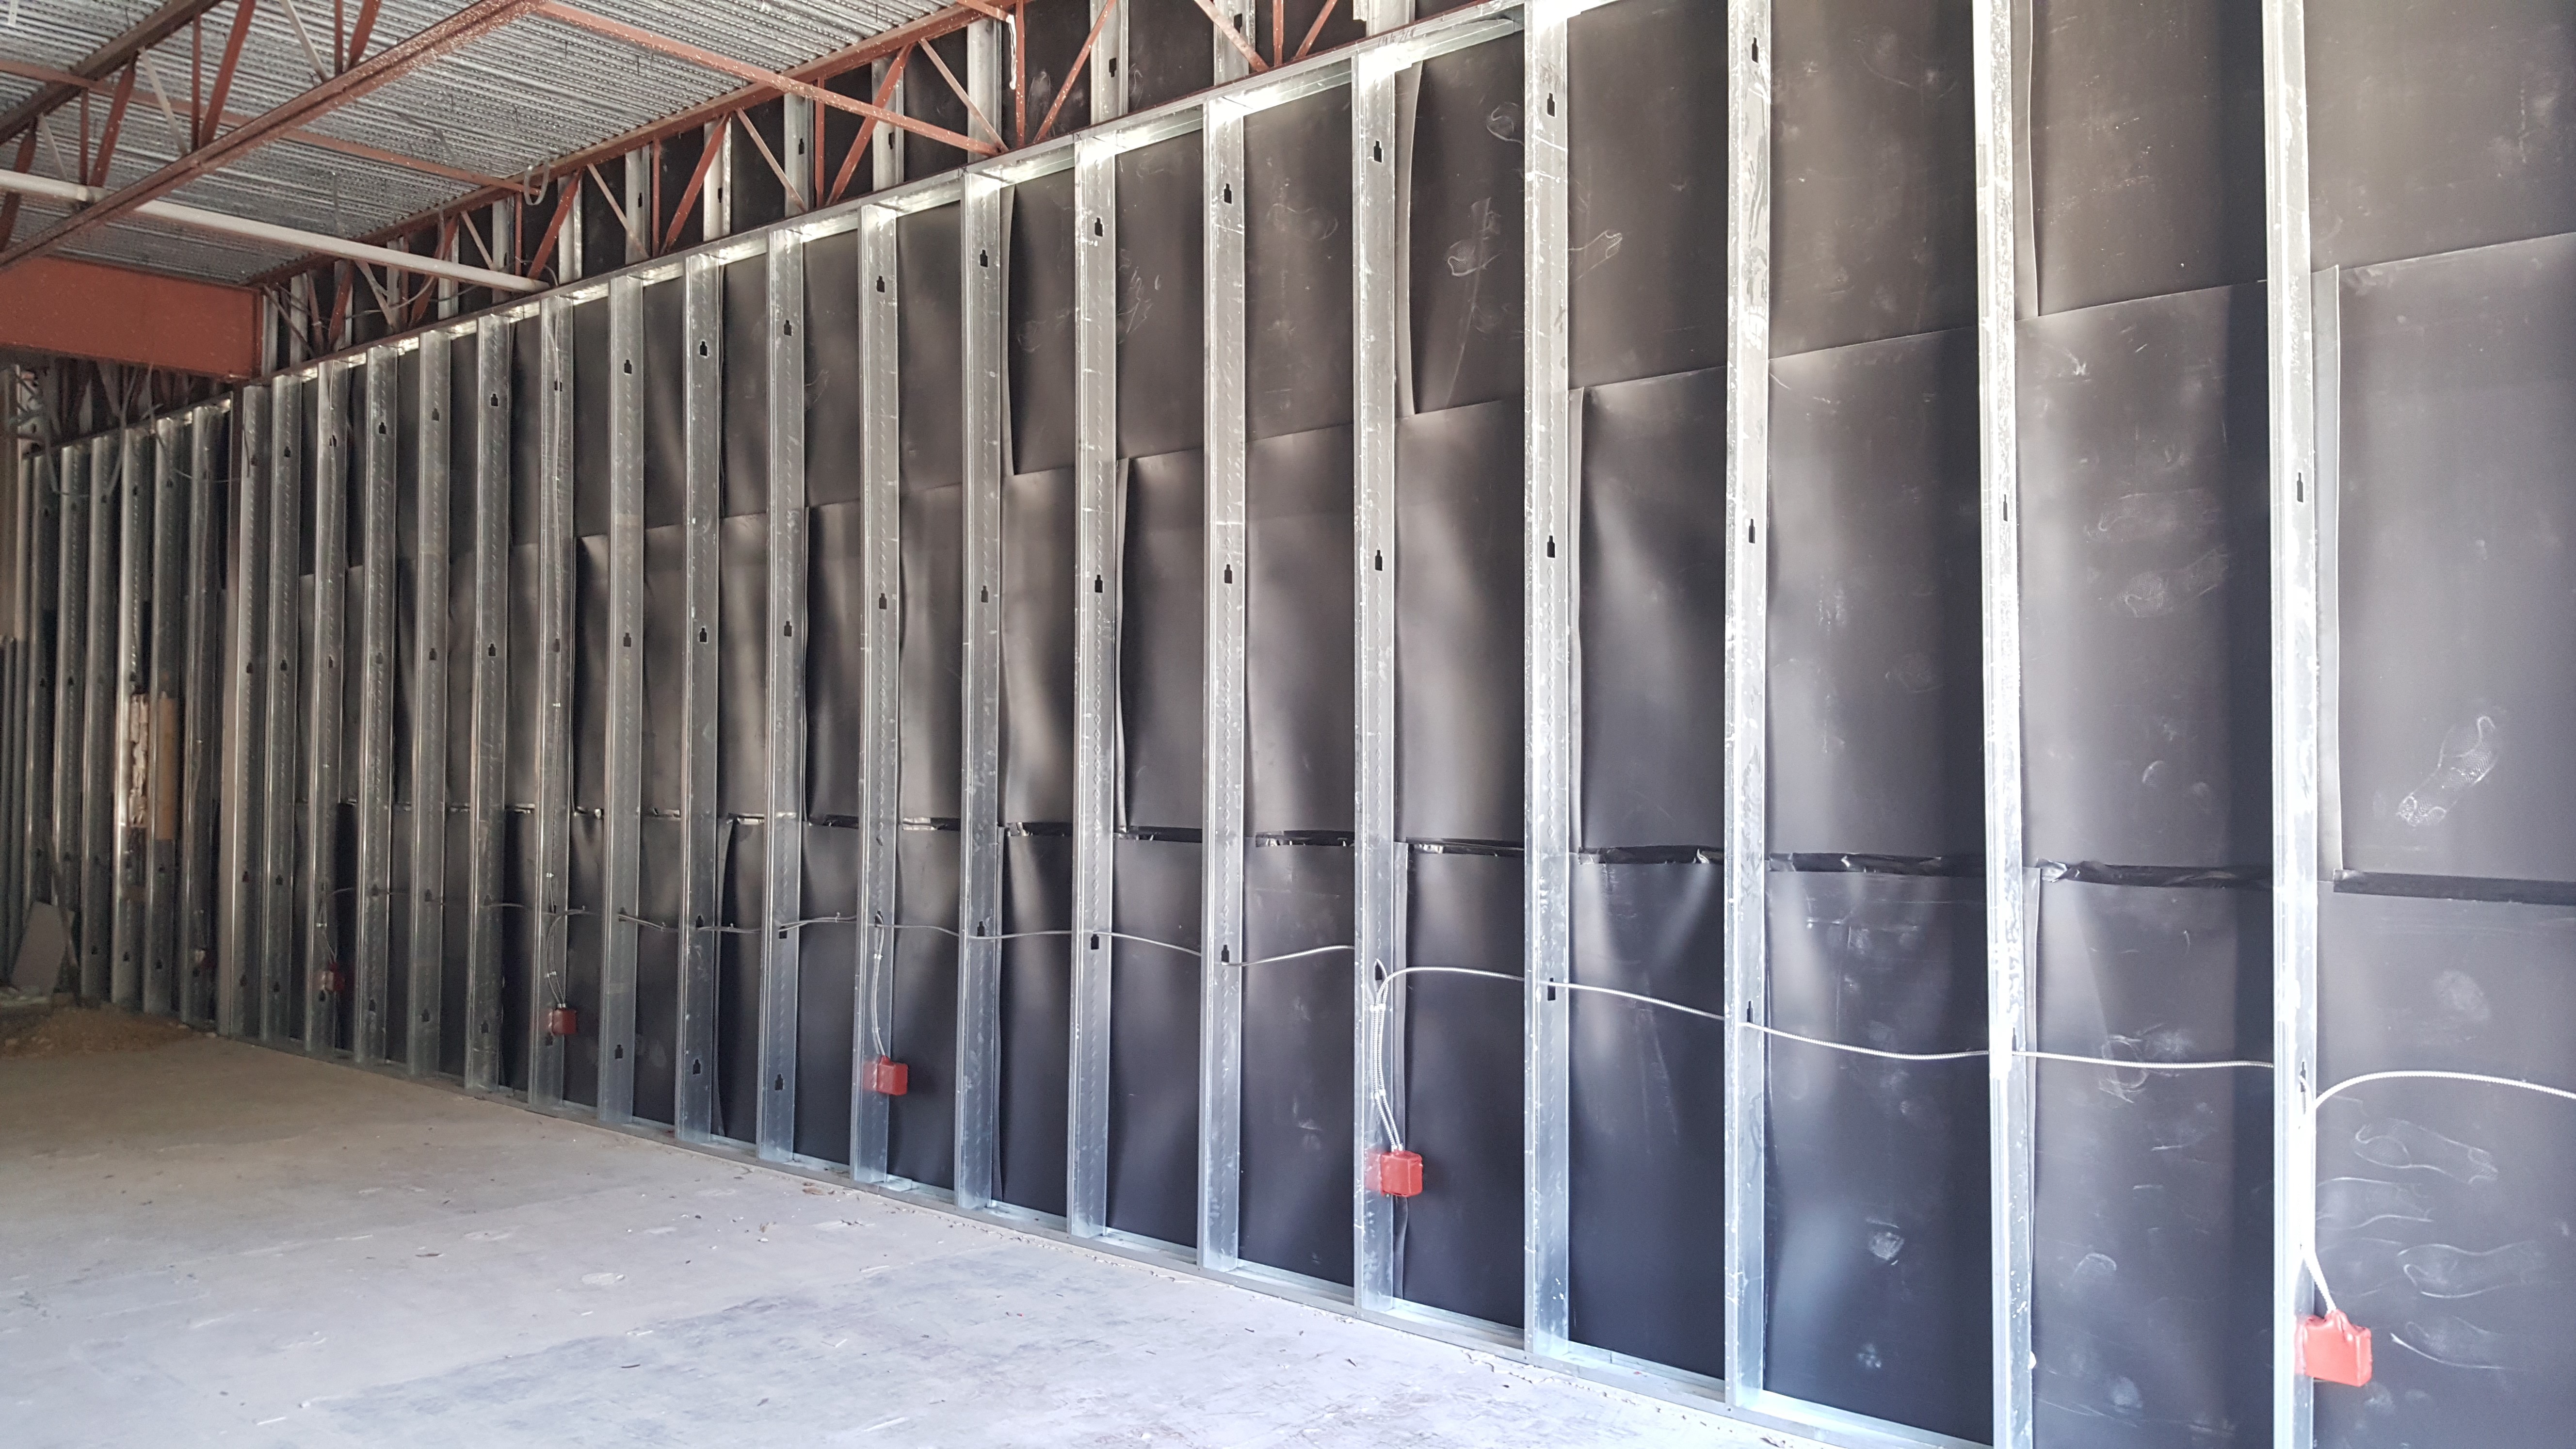
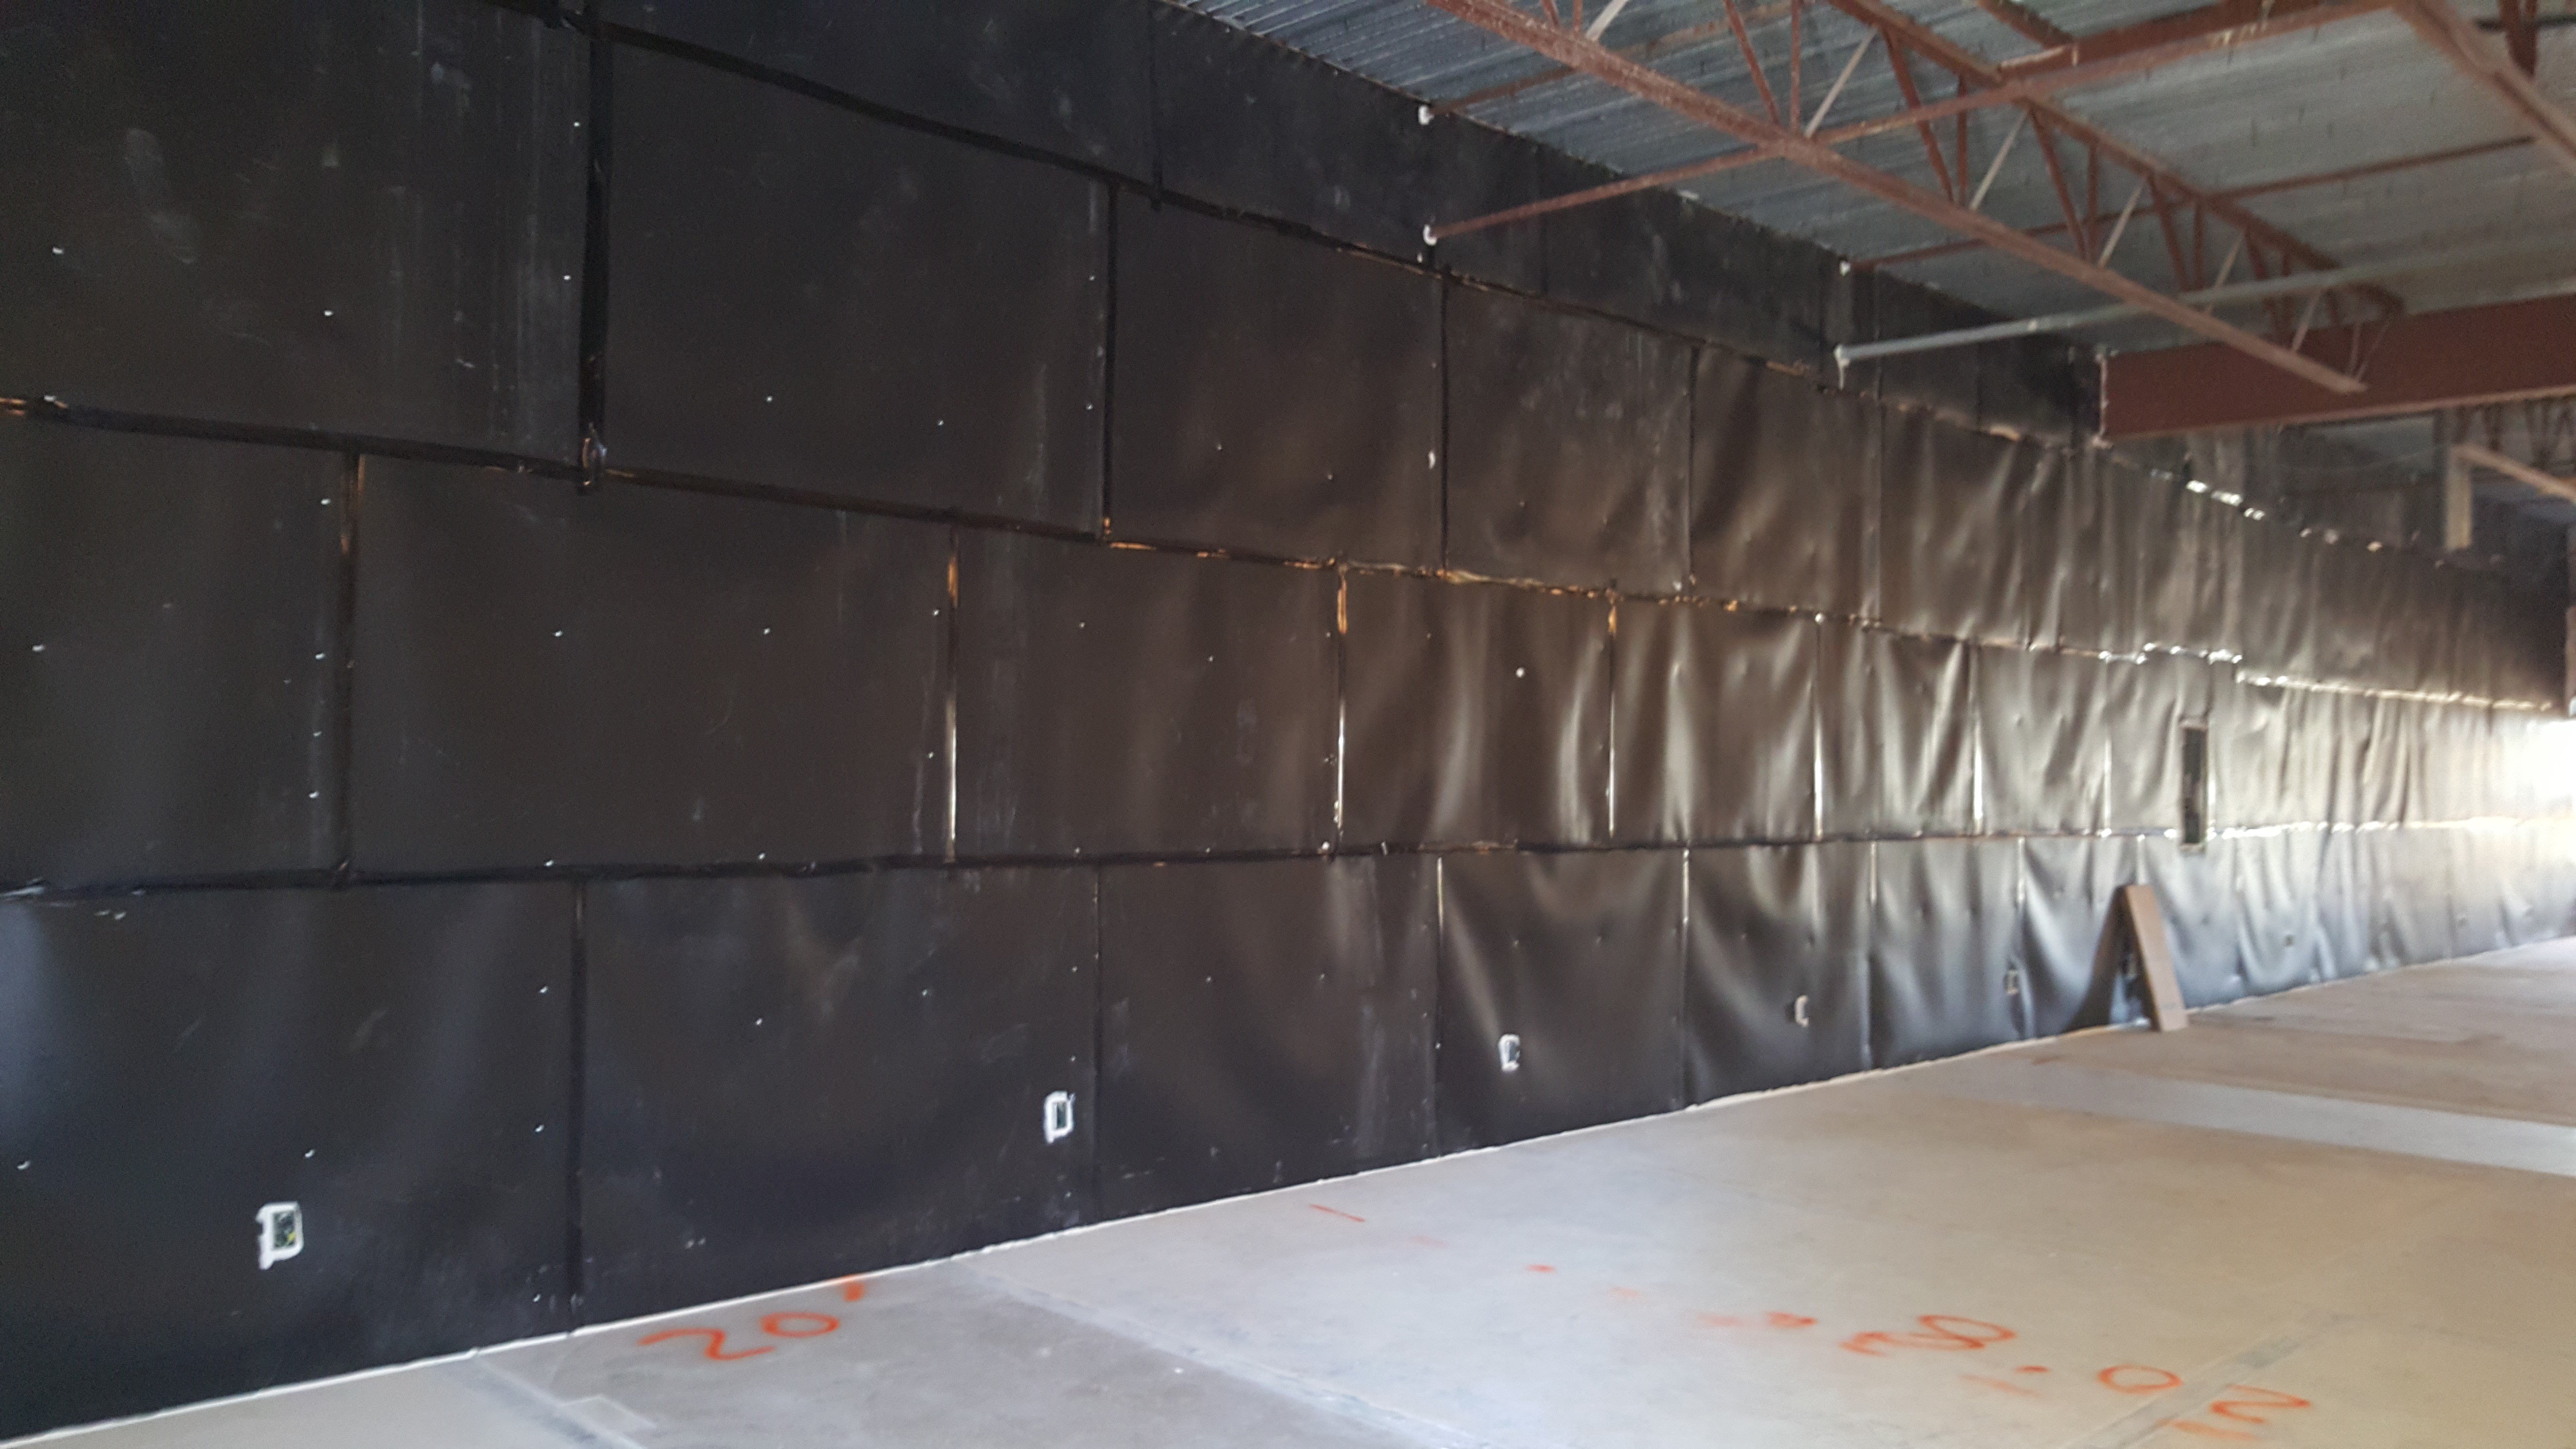
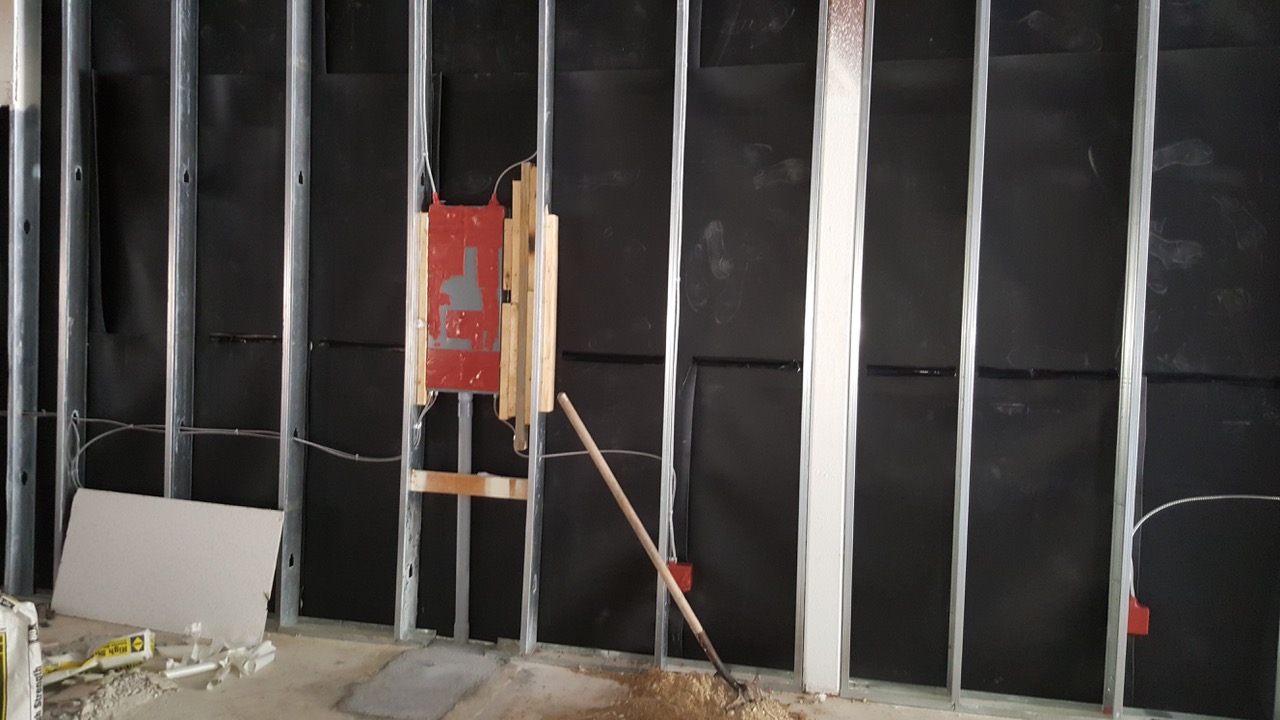
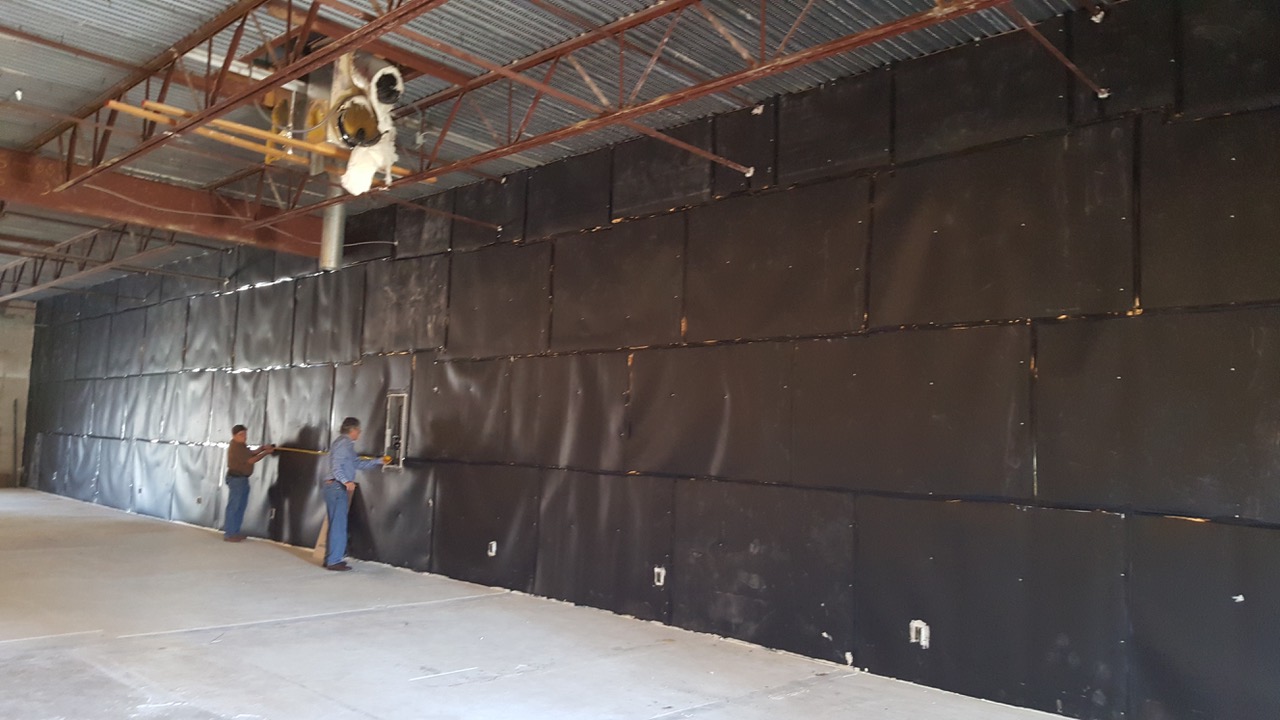
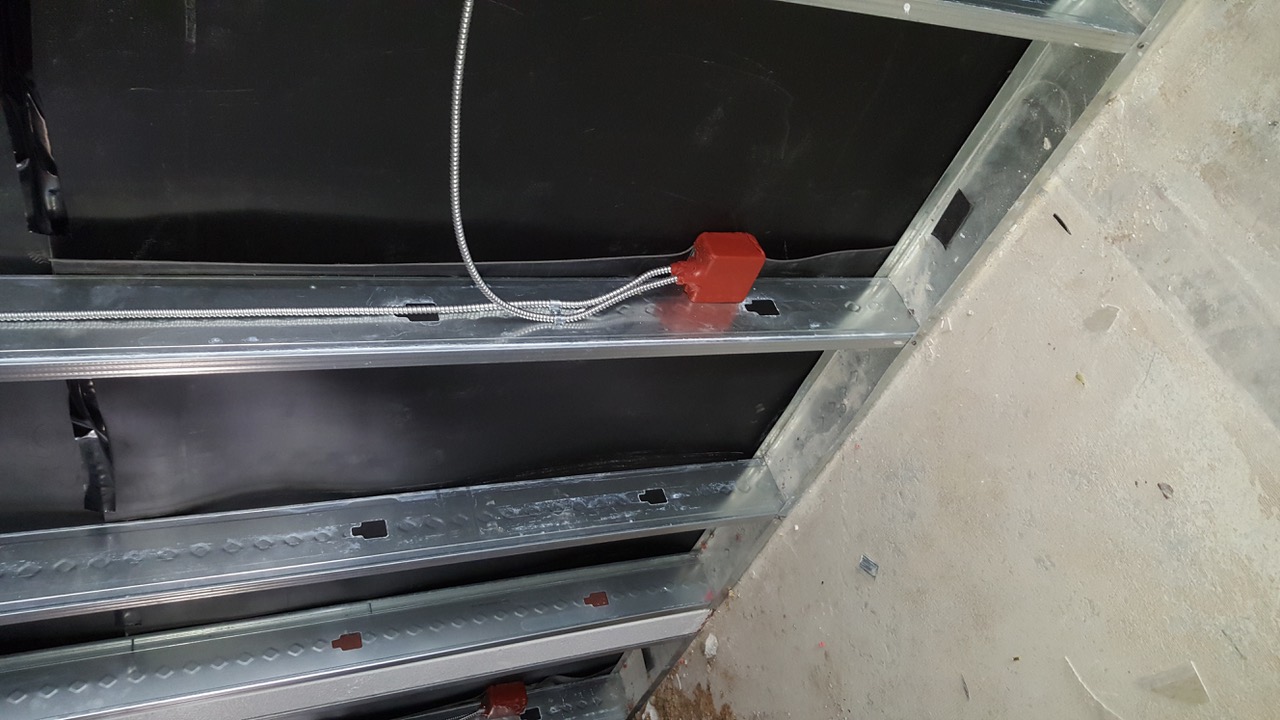
For the new gaming area, a new wall was being put up. This was much easier to treat as we built in sound barrier products into the wall as it was being erected. We treated the new wall, first by running a bead of acoustical sealant where the floor met the base plate and where the studs met the side walls. We sealed all electrical outlets and wall penetrations with putty pads.
We attached Sonic-Shield Noise Barrier material horizontally down the new wall, overlapping each strip of barrier product by approximately 6 inches. We cut the barrier product out around all the outlets and wall penetrations. We then ran a bead of acoustical sealant down the overlaps in the strips of barrier and sealed with seam tape. We then covered everything with a new layer of drywall.